All operations with screens and scenarios are done on the Screen Tree panel on the right:
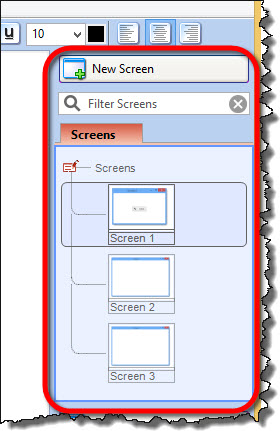
Adding New Screen *
Opening a new project will add a new empty screen automatically.
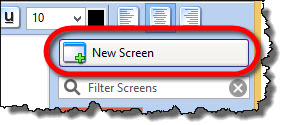
Otherwise, you can add new screens by “New Screen” button above the Screen Tree:
Create a New Group / Scenario *
When you have many screens, it’s much easier to manage them when you arrange them in groups:
- Groups are treated as scenarios by default. However, a group can hold any number of screens you choose to group together.
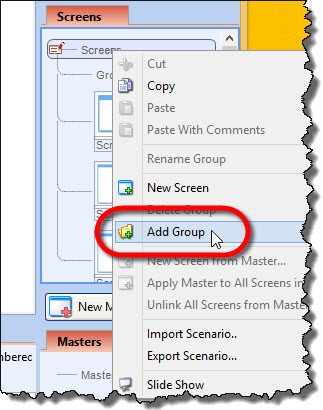
- To create a new group, right-click on a Screen Tree and choose the Add Group option:
Moving and Copy / Paste *
To put existing screens into a group:
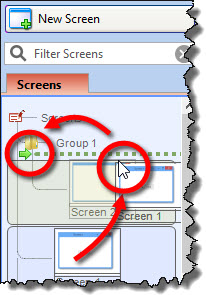
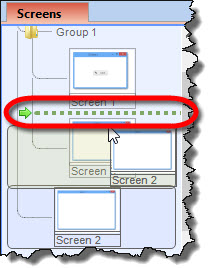
- Drag the screen into a group; the indicator will display in green to show you the target of your action:
- The other way to move a screen into a group is to cut and paste it, via the right-click menu.
- To copy-paste a screen, use copy-paste commands from Screen Tree panel’s right-click menu. Note that screen’s annotations will not be copied by default.
Copy-Pasting a Screen Together with Its Annotations *
By default, copying a screen does not copy its annotations.
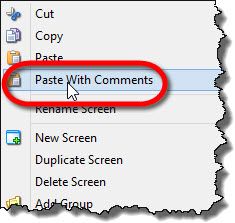
To copy screen together with the annotations, use the “Paste With Comments” option on Screen Tree panel’s right-click menu:
Reordering and Rearranging Screens *
You can rearrange screens by dragging & dropping them in the Scree Tree panel.
- Indicator will display in green to show the resulting position of drag & drop within the screen hierarchy:
Filtering and Finding Screens *
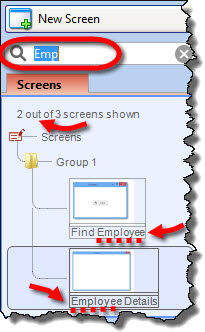
In a project with many screens, you can easily find them by using a live search filter:
- Type couple of letters in the filter, and only the screens with matching captions / alternate names will be displayed:
Copy-Pasting Whole Scenarios *
To copy-paste a scenario:
- Right-click on a scenario and choose “Copy”.
- Right-click on a Screen Tree where you want to insert the copied scenario and choose “Paste”.